
Create a workspace
A workspace holds your videos, clips, brand kit and connected social accounts. Here is what it is for and when to create a second one.
Updated
Everything in ScaleReach lives inside a workspace: uploaded videos, generated clips, your brand kit, connected social accounts, minutes balance and team members. You get one automatically when you sign up, so there is nothing to set up before your first clip.
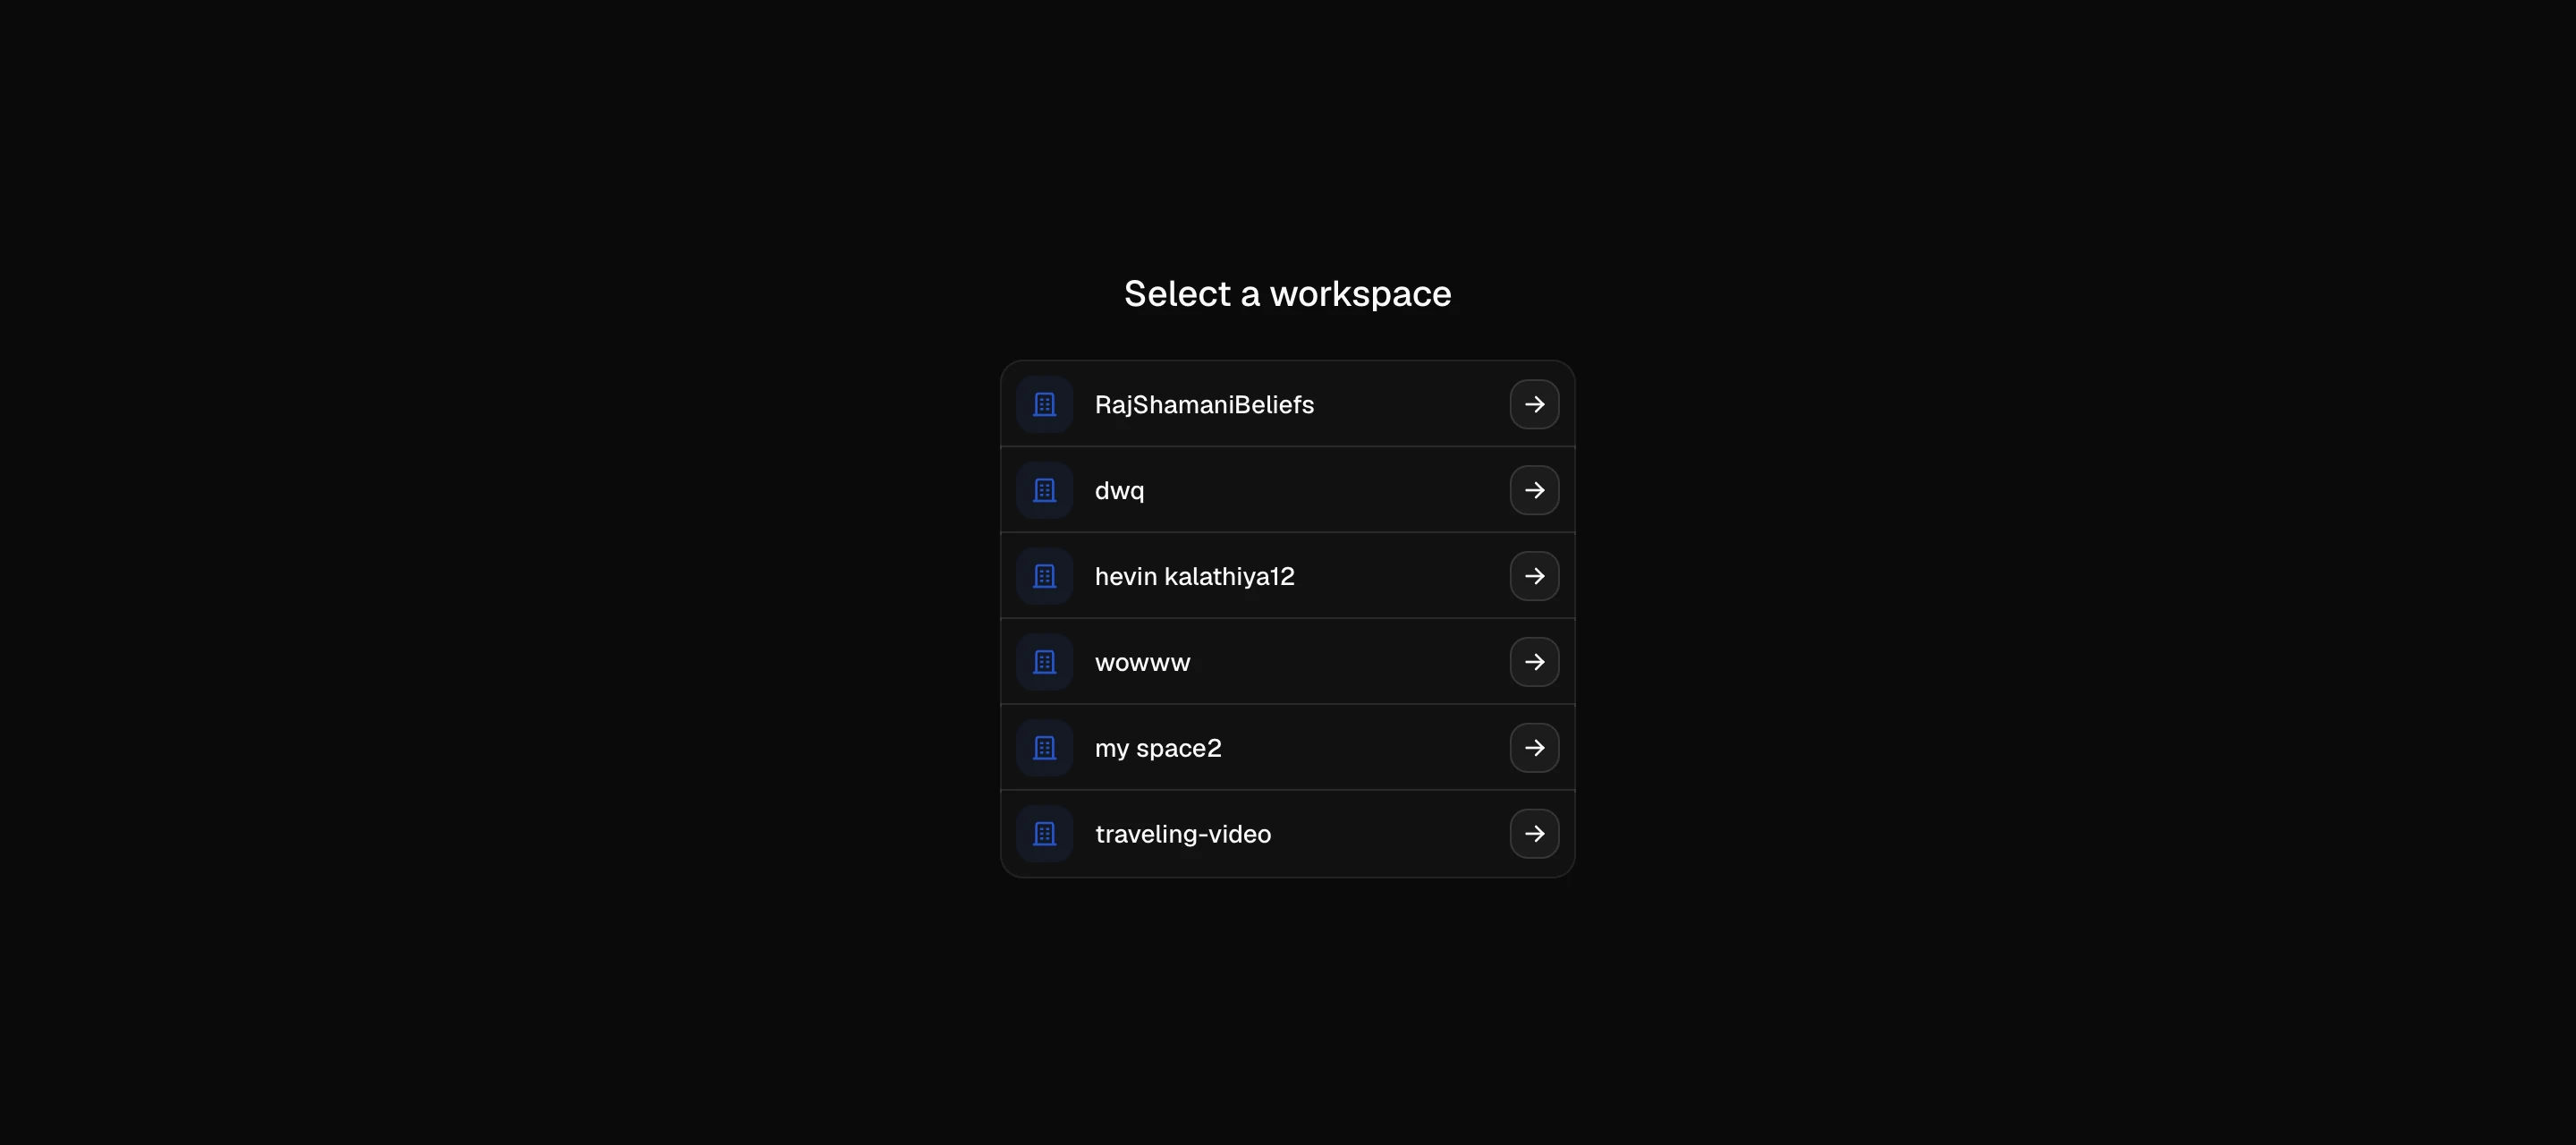
Switching between workspaces
The picker at /workspaces lists everything you have access to, whether you created
it or were invited. Selecting one takes you to its dashboard, and the app remembers
that choice — next time you sign in you land straight back in the workspace you used
last, rather than at the picker.
Every URL inside the app carries the workspace slug, so links you copy and paste always point at a specific workspace. That is worth knowing when you share a link with a teammate: they need to be a member of that workspace for the link to resolve.
When a second workspace is worth it
Create another one when the content is genuinely separate, because these things do not cross a workspace boundary:
- Minutes and billing. Each workspace has its own balance and its own plan.
- Brand kit. Fonts, colours and logo are per workspace.
- Social accounts. A connected TikTok or YouTube account belongs to one workspace.
- Members. Access is granted per workspace, not per account.
So one workspace per brand or per client is the pattern that works. Splitting a single channel across two workspaces mostly creates work, since you end up managing two minute balances for the same content.
Renaming and the slug
Workspace name and slug are editable later under Settings. Changing the slug changes every in-app URL for that workspace, which will break links you have already shared, so it is worth settling early.